Orthodontists cleverly appropriated the available components for fixed orthodontic appliances to correct malocclusions with aligners. Lingual buttons, bondable molar tubes and Caplin hooks were often utilised in the early days, with variable success. Because these parts often had a small surface area and were designed for the centre of the clinical crown, there were frequent bond failures and frustrating emergency visits for patients and parents.
Recent innovations in bondable auxiliaries have made incorporating elastics into aligner cases much more predictable. Precision Aligner Buttons (DynaFlex), for example, are reimagined bondable buttons designed specifically for aligners. These buttons were engineered to fit within the prefabricated cut-outs provided by most major aligner manufacturers. Precision Aligner Buttons also have a base pad that is contoured for the cervical or gingival third of the clinical crown and a maximised surface area for additional bond strength. The following article provides a review of clinical scenarios for which incorporating elastics into your treatment plan can be advantageous.
Class II malocclusion
For mild to moderate Class II cases in which the molar classification is a half cusp or less off, I recommend incorporating prefabricated hooks, that is, notches or slits, on the maxillary canines and cut-out windows on the mandibular first molars. I recommend placing the cut-out windows in the centre of the clinical crown, as the square anatomy of the mandibular first molar almost always resists rotational forces. If there is a large posterior open bite, I will occasionally add a composite extrusion attachment to the mesial cusp, placing the cut-out window on the distal aspect.
I prefer buttons on the mandibular first molars for several reasons. Firstly, although bonding buttons is an extra step and creates the potential for bond failure, it is simply easier for the patients to fasten elastic bands to outward-projecting buttons in the back of the mouth. Ease of use often equals better compliance. Secondly, the plastic dovetail created by a hook can bend outwards and irritate the cheek. Thirdly, heavier elastic bands can lift or potentially dislodge aligners. The only scenarios in which I will incorporate hooks in the posterior are if the patient has gold or porcelain crown restorations or if there is a severely collapsed vertical dimension.
After buttons have been bonded to the mandibular first molars, patients are instructed to start with 1⁄4 in., 4.5 oz elastics. If additional Class II correction is needed, I advance the patient to 1⁄4 in., 6.5 oz elastics.
There are several clinical indications for which I prefer cut-out windows on the maxillary canines as opposed to hooks. If the maxillary canines are buccally ectopic or high, the elastic band will also provide a vertical force vector to aid in extrusion. For Class II division II cases, attaching the elastic band directly to the canine avoids any distal force on the aligners, which would counteract the proclination of the maxillary central incisors. A third scenario for cut outs on the maxillary canines is for more severe Class II cases in which the molar relationship is a half to full cusp off. Anecdotally, I have seen more effective Class II correction when bondable buttons are placed on the maxillary canines, versus hooks or notches in the aligner.
Regarding aesthetic button options, clear Precision Aligner Buttons are made of a composite–ceramic hybrid. These buttons also universally fit maxillary and mandibular canines and premolars in the cervical or gingival third of the crown adjacent to the gingival margin.
Class III malocclusion
For Class III cases, I will design my cases with hooks on the mandibular canines and cut-out windows on the maxillary first molars. I avoid hooks on the maxillary first molars for the same reasons that I avoid them in the posterior on Class II cases. If more significant Class III correction is needed, I have had good success with buttons bonded directly to the mandibular canines. This is another great indication for clear Precision Aligner Buttons.
As transverse discrepancy and posterior crossbite are often associated with Class III malocclusion, I incorporate a pearl from Dr Maz Moshiri and prescribe the cut-out windows on the palatal aspect of the maxillary first molars. Placing the buttons on the lingual aspect introduces an expansive force vector that can be quite beneficial. If attempting this technique, I recommend either a vertical or optimised attachment on the buccal surface, as the maxillary first molars are more susceptible to rotation around their palatal cusps.
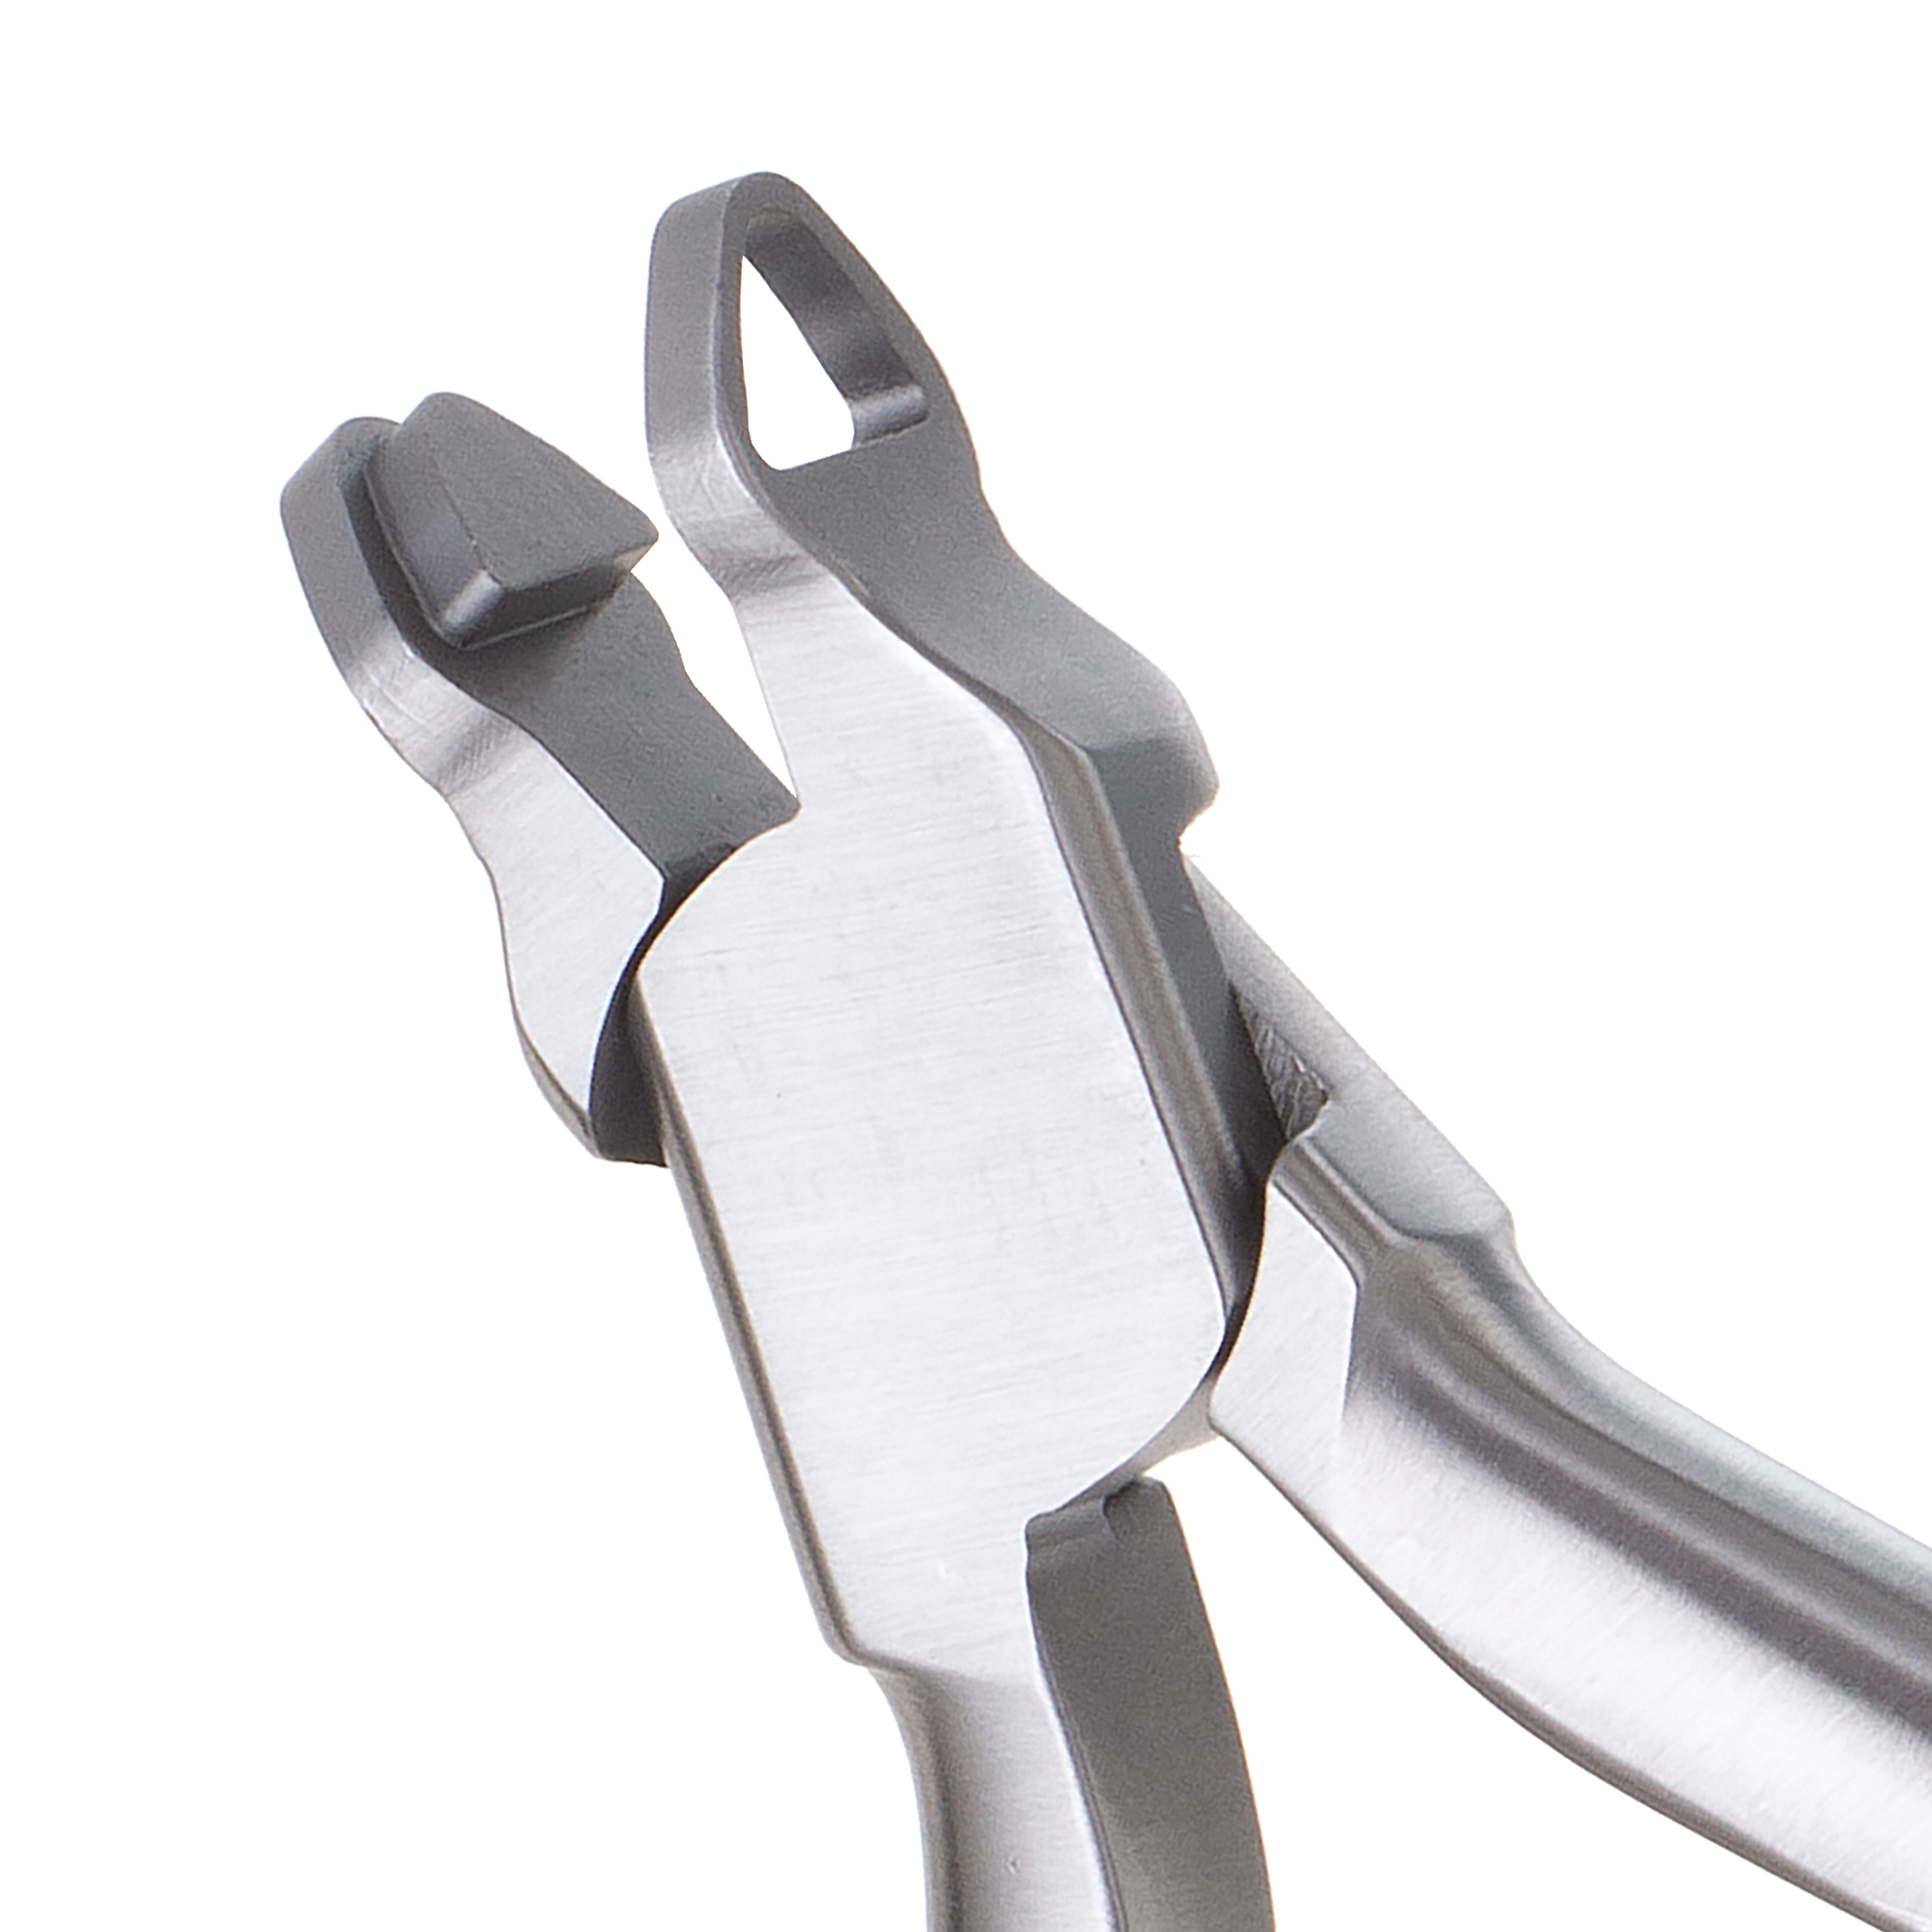
Fig. 1: The Precision Punch is part of the Clear Collection by HuFriedyGroup.
Posterior and lateral open bite
Cut-out windows and bondable buttons can be incorporated into aligner treatment plans in several ways. In low angle, skeletal deep bite patients, posterior vertical elastics can be used to help open the vertical dimension of occlusion.
Posterior elastics can also be implemented in the orthodontic finishing stages to settle a resultant posterior open bite. In this scenario, for which button cut-outs may not have been pre-planned, the Precision Punch (Fig. 1) and the Petite Punch (both HuFriedyGroup) are an excellent option. Another situation in which posterior vertical elastics can come in handy is settling a bite after orthognathic surgery.
Anterior open bite
Elastics can be incorporated into anterior open bite cases in either triangle or anterior box configurations. For triangle elastics, clear Precision Aligner Buttons can be bonded to the maxillary and mandibular canines, as well as the mandibular first premolars. I recommend starting with 1⁄4 in., 4.5 oz elastics. For anterior box elastics, buttons could be considered for the maxillary lateral incisors.
The clear Precision Aligner Buttons have a convex base and are better suited for the canines. I recommend selecting an aesthetic button with a flat base to better match the anatomical features of the incisors. When using anterior box elastics, a 5⁄16 in., 4.5 oz elastic is recommended. Because these elastics can inhibit speech, I ask my patients to wear them at night only.
Extraction cases
While each extraction case should be considered on an individual basis, bondable buttons may be advantageous in setting up your anchorage system for space closure mechanics. Buttons will provide a more direct force to specific teeth, as opposed to hooks, which will distribute those forces to multiple teeth through the aligner.

 Brazil / Brasil
 Canada / Canada
 Latin America / Latinoamérica
 USA / USA
 Austria / Österreich
 Bosnia and Herzegovina / Босна и Херцеговина
 Bulgaria / България
 Croatia / Hrvatska
 Czech Republic & Slovakia / Česká republika & Slovensko
 France / France
 Germany / Deutschland
 Greece / ΕΛΛΑΔΑ
 Hungary / Hungary
 Italy / Italia
 Netherlands / Nederland
 Nordic / Nordic
 Poland / Polska
 Portugal / Portugal
 Romania & Moldova / România & Moldova
 Slovenia / Slovenija
 Serbia & Montenegro / Србија и Црна Гора
 Spain / España
 Switzerland / Schweiz
 Turkey / Türkiye
 UK & Ireland / UK & Ireland
 China / 中国
 India / भारत गणराज्य
 Pakistan / Pākistān
 Vietnam / Việt Nam
 ASEAN / ASEAN
 Israel / מְדִינַת יִשְׂרָאֵל
 Algeria, Morocco & Tunisia / الجزائر والمغرب وتونس
 Middle East / Middle East

 Dr. Mariano PolackRegister now1CELive webinar
 Dr. Daniel CavassinLive webinar
 Prof. Hani Ounsi DDS PhD FICDRegister now1CELive webinar

 Dr. Cristian Scognamiglio, Dr. Alessandro Perucchi


 to address the Class II occlusion on the right side.")


To post a reply please login or register