Cementation
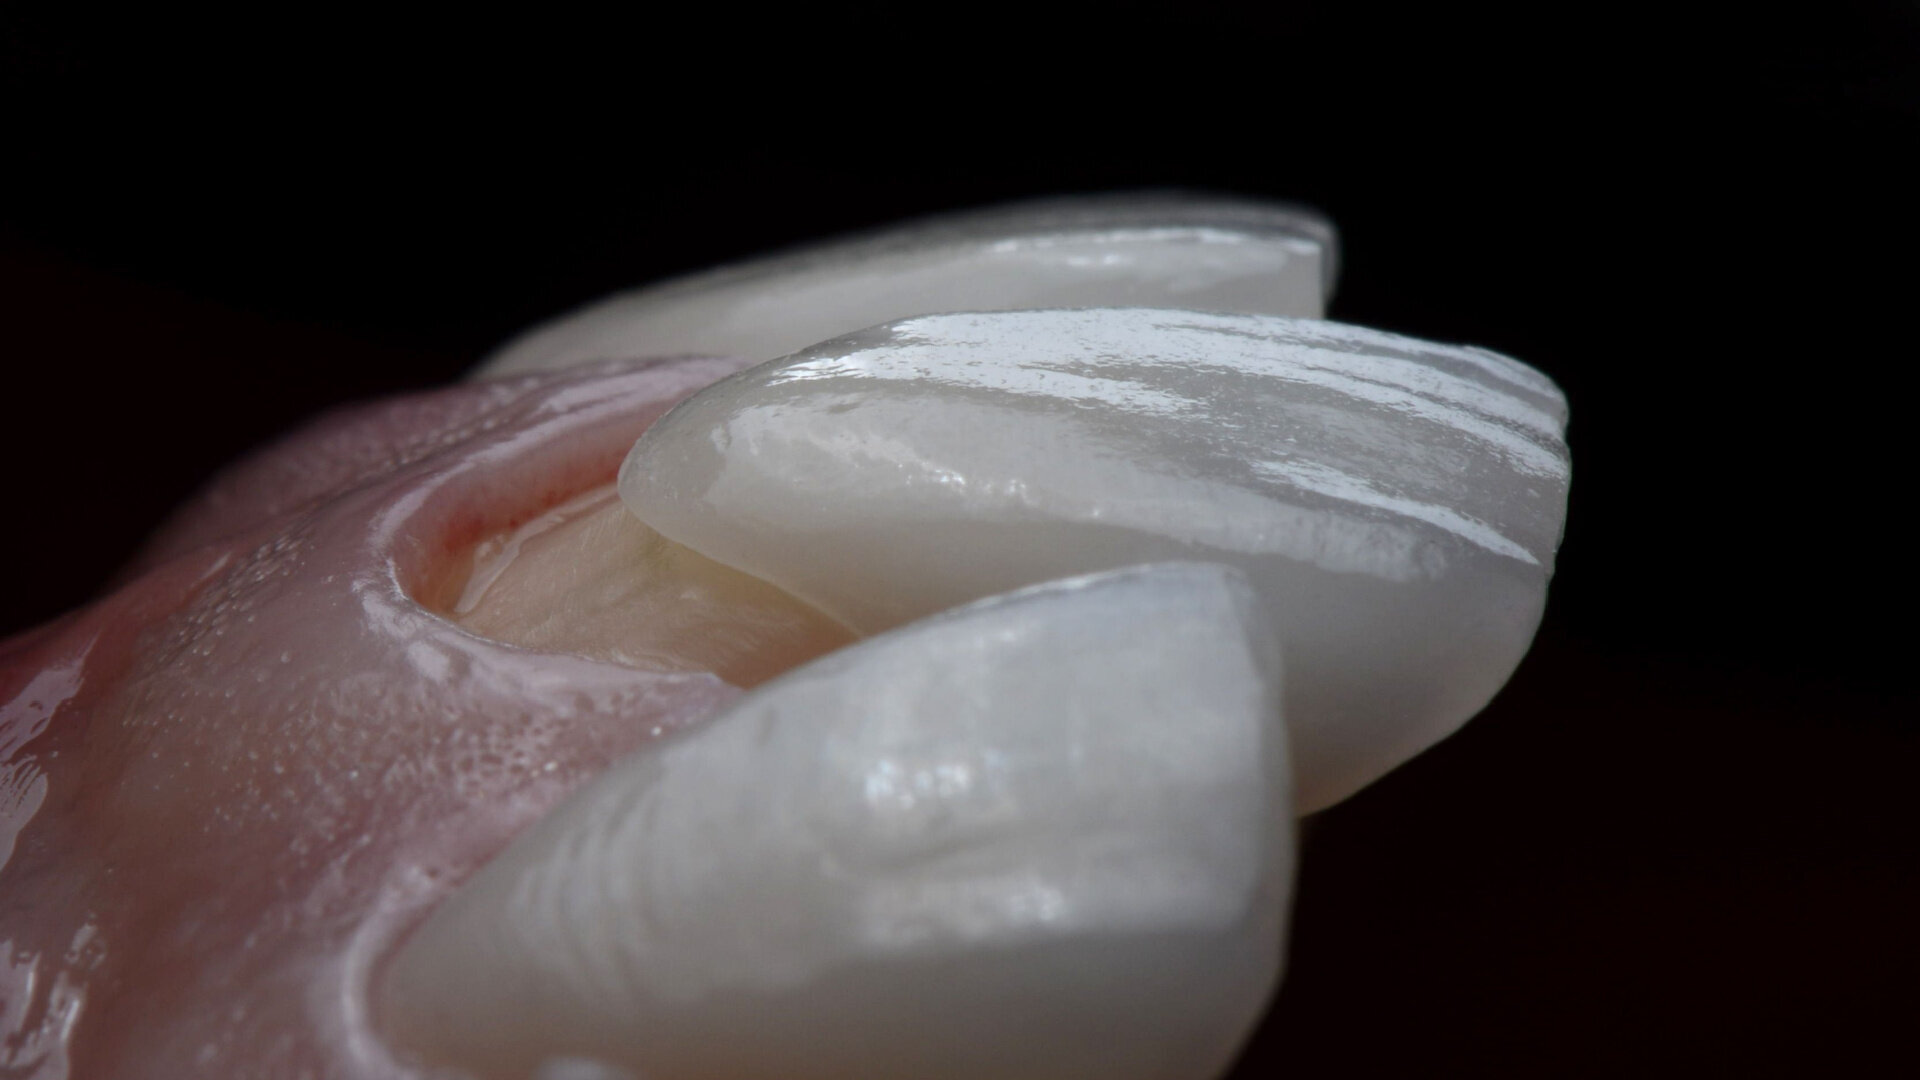
On receipt from the ceramist, the porcelain restorations were reinspected on the dies for marginal fit and on solid models for proper interproximal contacts. Profound anaesthesia was obtained through the use of Lignospan standard during the seating appointment. An OptraGate lip retractor was placed to assist in isolation. The provisional veneers were removed, and the preparations were cleaned to remove any residual temporary cementation material or debris. The veneers were then tried in the patient’s mouth and evaluated for fit and aesthetics (first individually, then collectively). The patient was then asked to view and approve the aesthetics of her smile in a hand mirror.
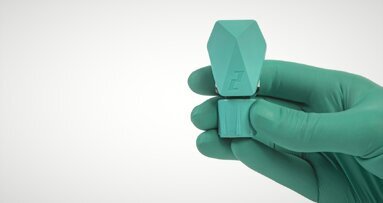
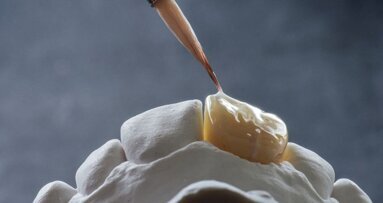
The approved veneers were removed from the patient’s mouth and carefully cleaned with IvoClean cleaning paste (Ivoclar) to remove any possible contamination. They were rinsed and dried, and Monobond silane coupling agent (Ivoclar) was applied to the intaglio of the veneers.12 After 1 minute, they were air-dried, and a thin coating of All-Bond Universal bonding agent (BISCO) was applied to the intaglio of the veneers and air thinned. Vitique clear veneer cement (DMG) was then applied to the veneers, and they were immediately placed into a ResinKeeper light-safe box (Cosmedent) to prevent polymerisation of the resin.6, 7
The preparations were acid etched for 15 seconds with the Uni-Etch 32% phosphoric acid gel etchant (BISCO), followed by rinsing with a copious air and water spray.6, 7 All the preparations were lightly dried but not dessicated.6, 7 Two coats of All-Bond Universal were applied to each preparation and agitated for 20 seconds prior to air thinning to evaporate the solvents. After air thinning, each tooth was polymerised for 20 seconds with a Bluephase LED curing light. The veneers were then removed from the light-safe box and seated on their respective preparations. Excess cement was removed with a regular micro-brush (Microbrush International), and the veneers were tacked into place for 5 seconds each with the curing light.13 Additional excess was removed gently with a scaler, dental floss was passed through the contacts in the apical direction only and the veneers were then polymerised fully for an additional 30 seconds each.13 The margins were then inspected, and any excess polymerised cement was removed with a #12 scalpel blade.13 The interproximal areas were cleaned with Epitex finishing strips (GC). DeOx oxygen inhibiting gel (Ultradent) was expressed around all the margins, and the restorations were polymerised for an additional 10 seconds to finalise polymerisation.6, 7, 12 The lingual aspect was then polished with diamond paste and FlexiBuff polishers (Cosmedent) in a slow-speed handpiece, and the isolation was removed.
The patient’s occlusion was checked, and smooth, proper contacts were verified with floss. Postoperative home care instructions were given, and the patient was scheduled for a follow-up appointment for radiographic and photographic documentation, as well as a follow-up check for function and aesthetic evaluation.
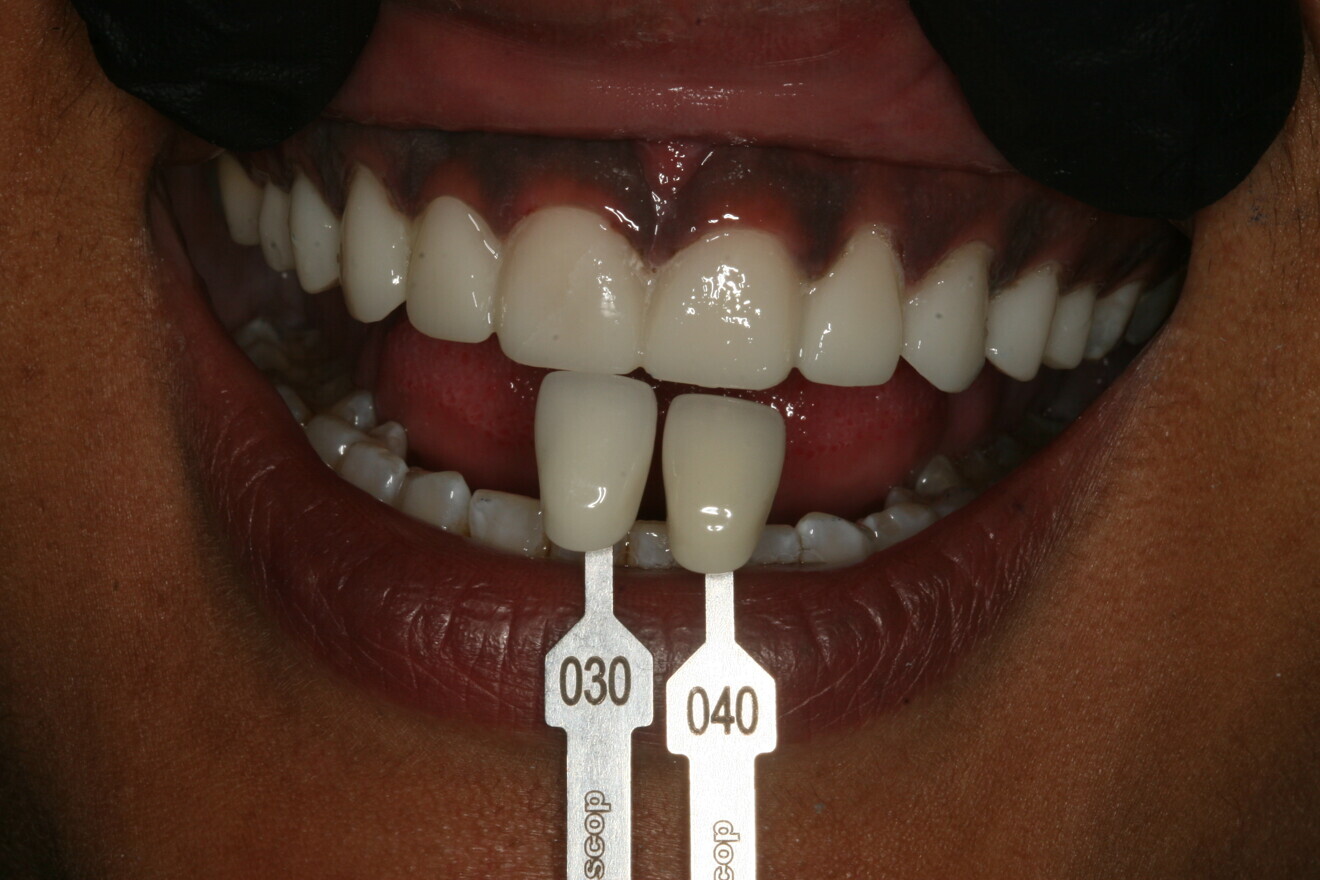
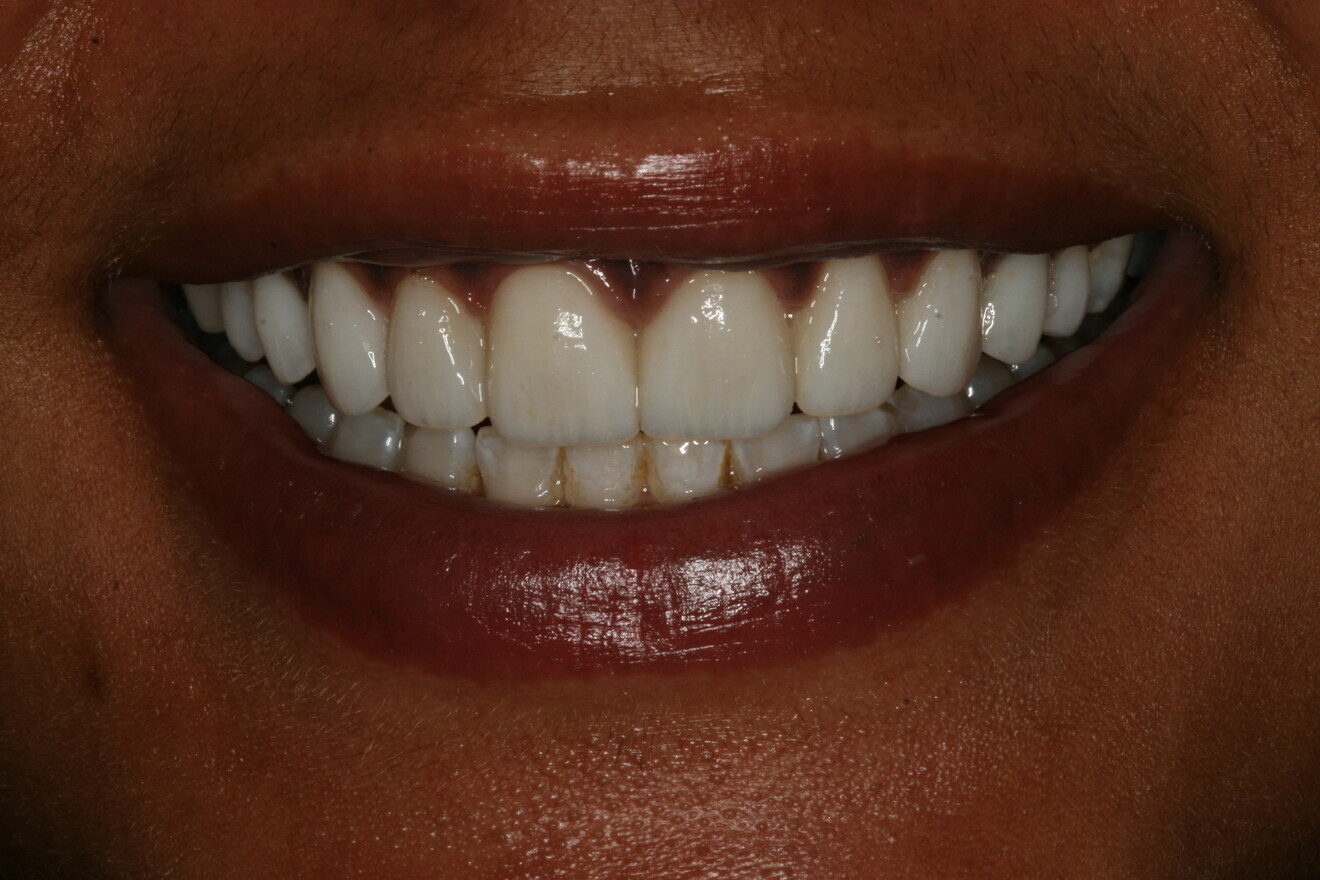
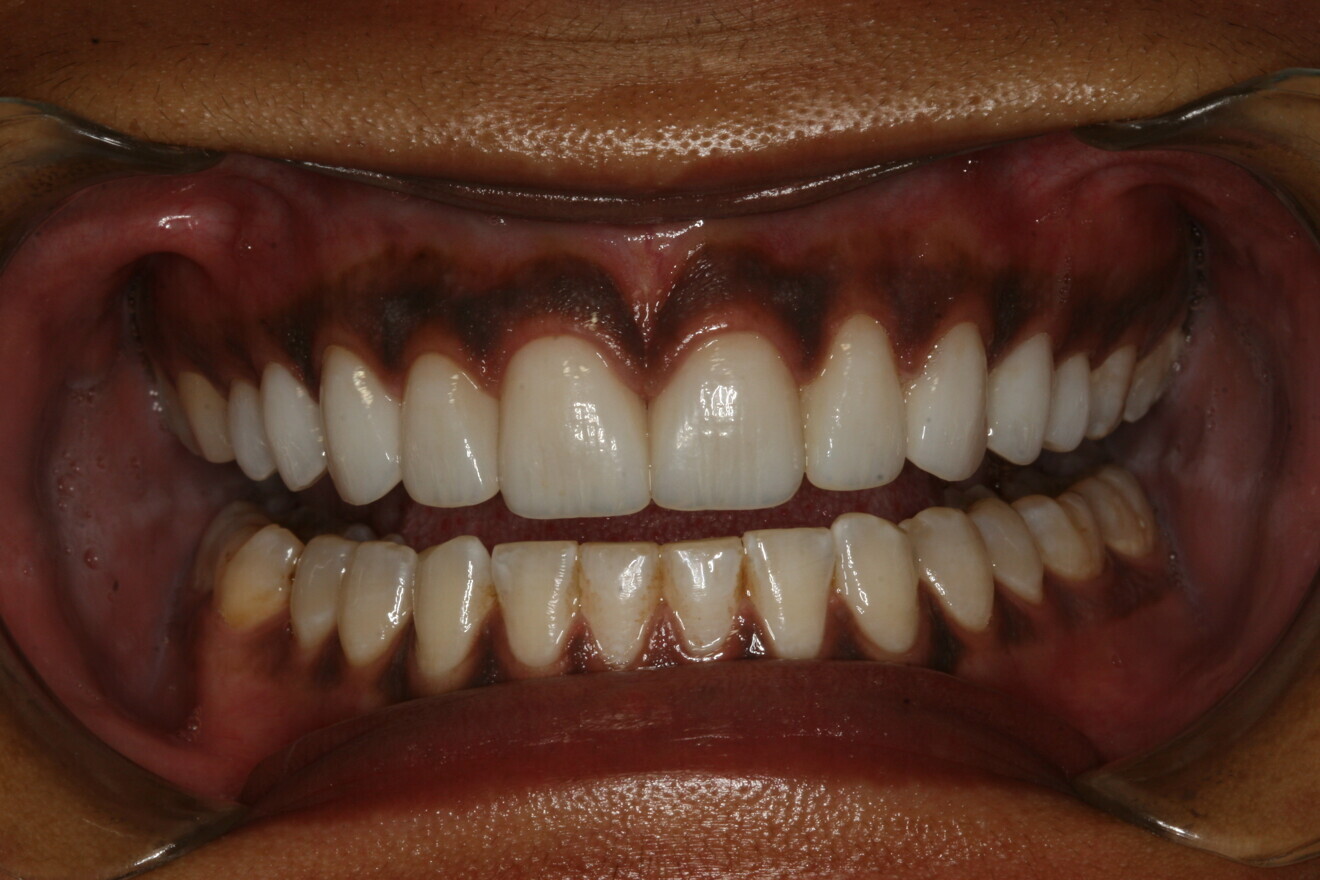
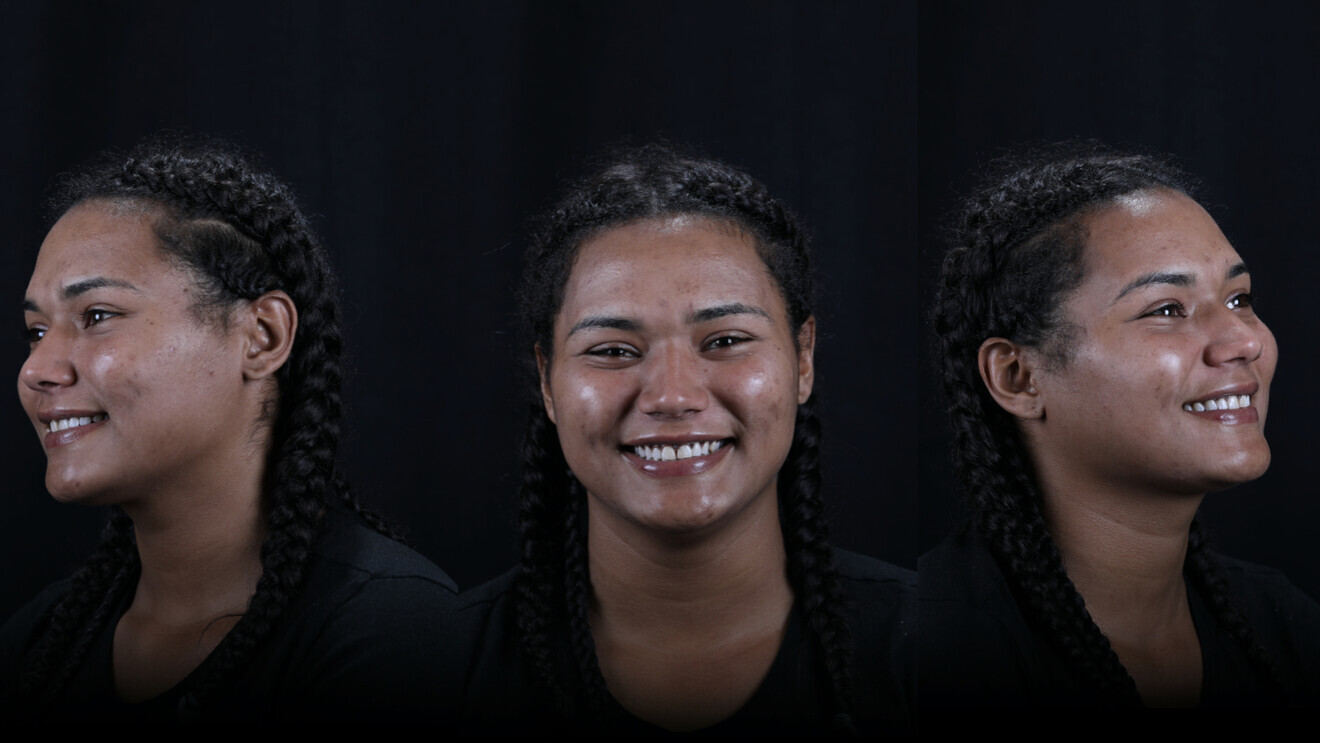
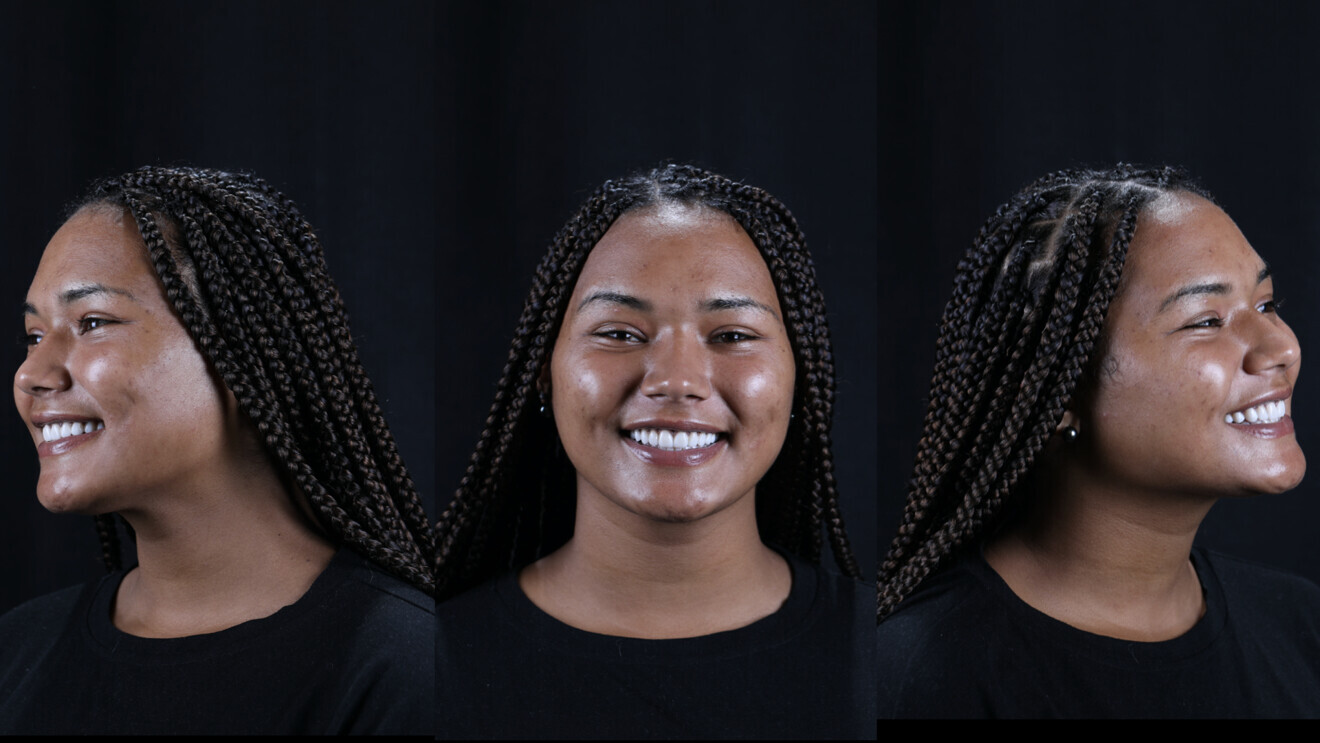
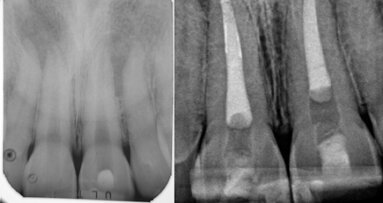
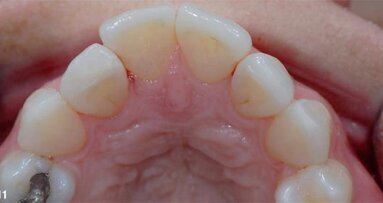
The patient returned the following day. Her functional occlusion was evaluated, and her teeth were inspected for any residual cement. Postoperative radiographs were taken to confirm positive seating of the margins and the absence of any residual interproximal cement. Maxillary and mandibular alginate impressions were taken along with a polyvinylsiloxane bite registration for fabrication of a maxillary full-arch bite guard for night-time wear.6 Postoperative home care instructions were given, and the patient was scheduled for a follow-up appointment for additional photographic documentation, a final check for function and aesthetic evaluation, and delivery of the bite guard (Figs. 8 & 9).6


 Austria / Österreich
 Bosnia and Herzegovina / Босна и Херцеговина
 Bulgaria / България
 Croatia / Hrvatska
 Czech Republic & Slovakia / Česká republika & Slovensko
 France / France
 Germany / Deutschland
 Greece / ΕΛΛΑΔΑ
 Hungary / Hungary
 Italy / Italia
 Netherlands / Nederland
 Nordic / Nordic
 Poland / Polska
 Portugal / Portugal
 Romania & Moldova / România & Moldova
 Slovenia / Slovenija
 Serbia & Montenegro / Србија и Црна Гора
 Spain / España
 Switzerland / Schweiz
 Turkey / Türkiye
 UK & Ireland / UK & Ireland
 Brazil / Brasil
 Canada / Canada
 Latin America / Latinoamérica
 USA / USA
 China / 中国
 India / भारत गणराज्य
 Pakistan / Pākistān
 Vietnam / Việt Nam
 ASEAN / ASEAN
 Israel / מְדִינַת יִשְׂרָאֵל
 Algeria, Morocco & Tunisia / الجزائر والمغرب وتونس
 Middle East / Middle East









To post a reply please login or register